Saturday, July 6, 2013

Water Kefir

Water Kefir is a fizzy probiotic drink. A lot of people think of it as a healthy homemade soda pop replacement. It is basically fermented sugar water. The kefir grains (which aren't grain at all, but actually yeasts and bacterias) work to eat the sugar converting it into simple sugars that have probiotics, higher vitamins (because they are made more easily digestible) including hard to get B vitamins. For a much better explanation check out this website, or google Water Kefir. There is also a Milk Kefir that you use with Raw Milk. This is not that. 
 Water Kefir in the quart jar on the right, has been fermenting for 24+ hours. It is pretty forgiving. My house was pretty cool today so I let it go a little longer. On hot days it may not need all 24 hours. But it is hard to mess up. More than 48 hours and you risk starving the grains though. On the left are swing top bottles, like these. You don't have to use swing tops. You can reuse beer bottles, if you buy extra caps and a capper, you can reuse store bought kombucha bottles or you can use another quart mason jar. I have found that the swing top bottles and the beer bottles create the most fizz. And sometimes if you use kombucha bottles they become hard to open, due to the pressure build up. Do not use plastic bottles. It's handy to have a funnel and you'll need a small strainer. Plastic is recommended, but since the grains don't stay in it long, I use metal. You want to keep your grains away from metal for the most part, I've read.

Pour a bit of your favorite juice in the bottom of each bottle. This is a cherry juice. My favorite is grape. If it is a lighter flavor juice I add a bit more (like the cherry above), grape I use a bit less. Experiment to your liking. Citrus juices are not recommended, although some people like to put a slice of lemon. Ginger also works well in kefir. You can also use fresh fruit instead of juice. Berries work excellently. Strawberry kefir is delicious!

Pour your kefir over your juice, carefully straining the "grains" out.

 Pour the grains back into the quart mason jar you use. You don't have to wash this out too often. And when you do, make sure there is no antibacterial soup residue left behind. (It'd kill the kefir...)

 For one quart of kefir you want to use 1/4 cup of grains and 1/4 cup of sugar. For most batches I use organic cane sugar. Sometimes I do half organic cane sugar and half succant. Kefir thrives on the succant, but it has a stronger flavor in my opinion so I don't use it as often. If your grains ever get a bit sad (they take too long to ferment, they aren't getting as bubbly, they start to get very, very small) use sucanat and or 100% pure blackstrap molasses (just a bit) to perk them back up. They need the minerals that plain white/cane sugar doesn't provide.
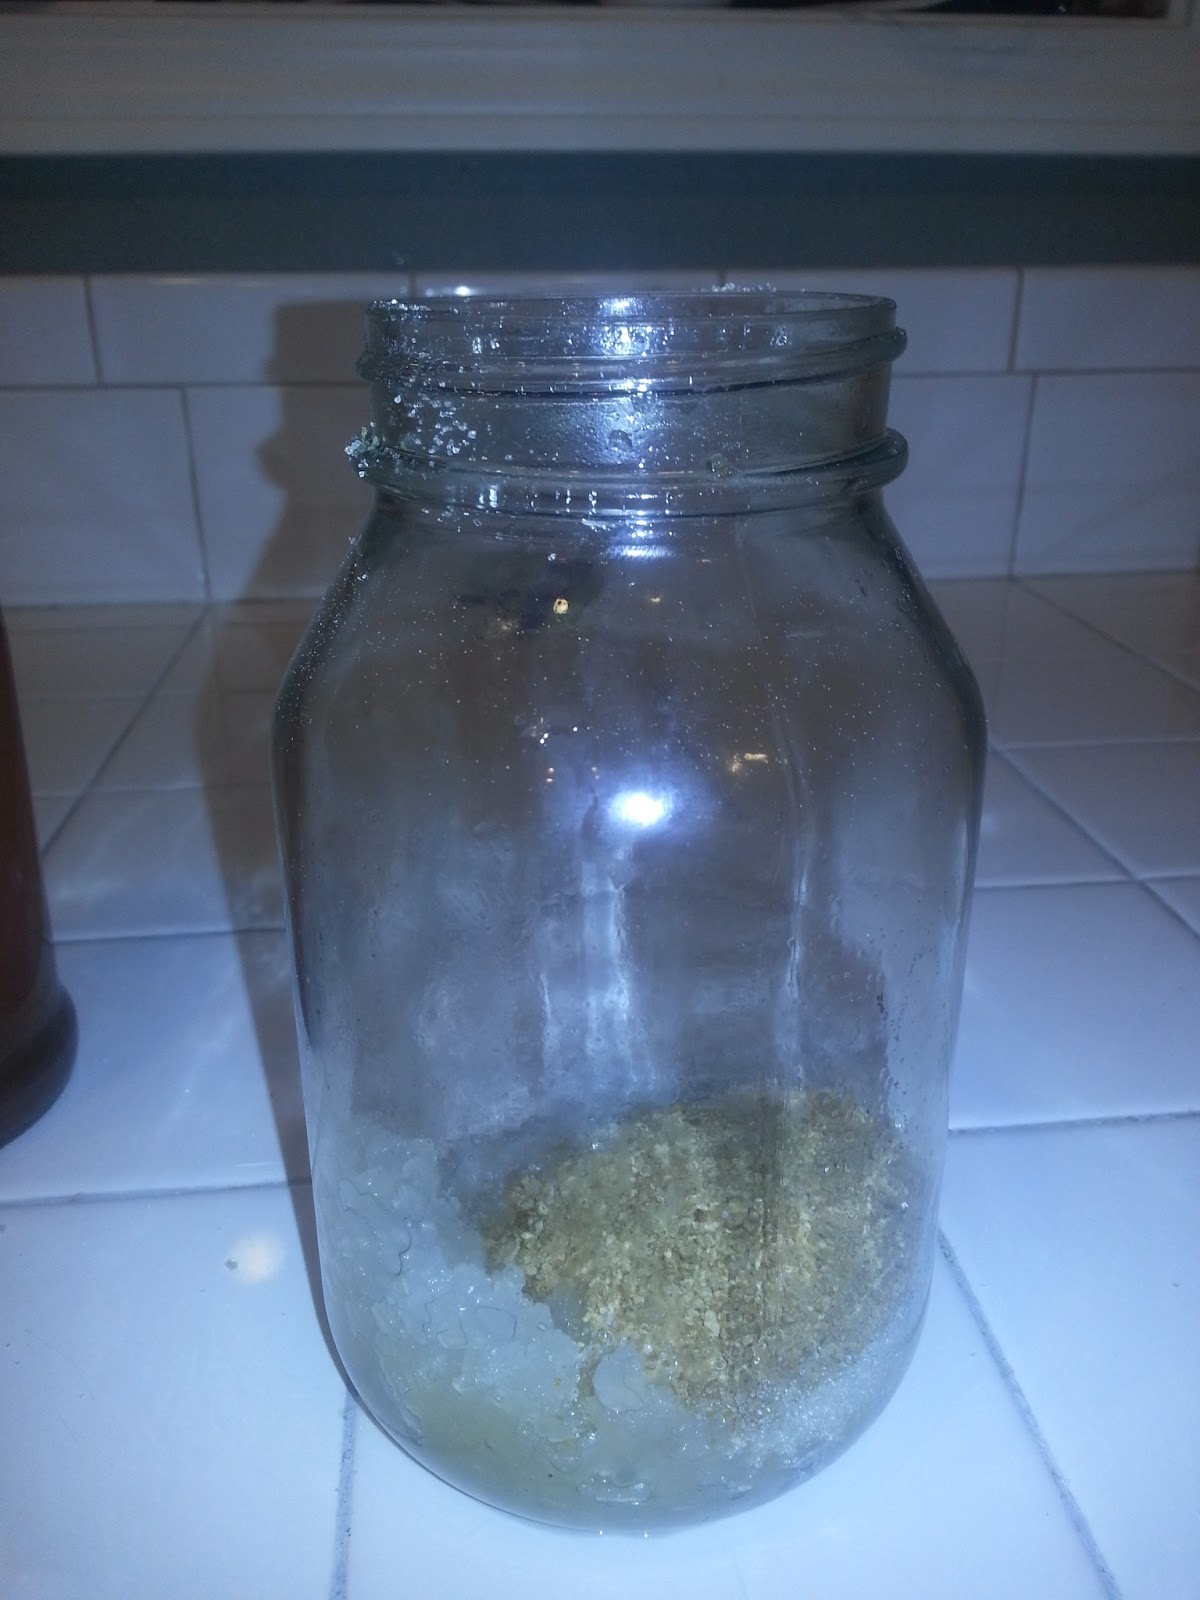
 This time I did half cane sugar and half sucanat.

 Another way to perk up your grains or to help them multiply faster (so you can have more than 1 quart going or so you can share with a friend) is to add a few drops of this concen trace mineral drops to them. I bought this at Amazon over a year ago and still have most of the bottle. A few drops will do fine and not every batch. (It's also good to add a few drops to your drinking water if you've been sweating a lot.)

 Add filtered water and shake to distribute the sugar. I use a Britta filter. It's important to remove the chlorine, which will kill the kefir.

Set on your counter and ignore for 24 ish hours. In hot weather I will sometimes put the flavored (second fermented kefir) in the fridge after 12 hours. Otherwise after 24 hours it is also ready to be refrigerated. One clue for you to check is when you see small bubbles at the top of your juice. And then you can start the process all over again.

*** Important to note. If you need a break from your kefir or you are going out of town, just get to the step where you are about to leave them on the counter to ferment, but instead, stick them in your fridge. They will keep for weeks like this and I think you can even rescue them if you forget about them for several months. If you are planning on taking a several month break from them, you can dehydrate them. I have not done this myself, but have heard of plenty of success stories.

If you just have them in fridge storage, when you take them out, depending on how long they've been in the fridge, they may be ready to pour on juice or may need to sit out for a bit. You can tell by how fizzy and the smell once you get some practice at it. ***

Thursday, June 27, 2013

Chicken and Rice


Okay, so I have been lazy and not posting recipes to Frickin' Chicken in like forever and a half. I put this photo up on facebook and immediately got a request for a recipe. Instead of typing it out there, I figured I might as well take a moment to post here. I'm not sure what this is called, except an easy go to dinner. It'd be easy to swap out the veg. For instance I typically make this with lots of mushroom as the only veg. Tonight I only had two lonely mushrooms in my fridge, but I had a bunch of asparagus. Zuchinni, bell pepper,  summer squash would probably all be good substitutes. Whatever your family likes. Even peas would work well.
Amanda

Chicken & Rice

1 cup of white rice (uncooked)
2 cups of water
pat of butter, however generous you want to be
pinch of salt

Cook your rice in a small pot, by placing the rice in the pot and covering with water. Add a pat of butter and salt. Bring to a boil and stir. Cover, reduce to low and set timer for 15-20 minutes. When rice is cooked, set it aside.

Meanwhile start your chicken dish.

1-2 breasts of chicken
2 lonely mushrooms (or more if you have them)
8-10 sprigs of asparagus
2-3 slices of bacon
1 cup of chicken stock
1 tbsp flour
thyme, salt and pepper
1 clove garlic
1 cup of cream/milk
parmesan cheese (optional)
butter

Start bacon sauting in a large skillet. When it is almost done, add diced mushrooms and asparagus. Chop garlic up small and toss it in too. When the bacon is cooked and veg have had time to cook a bit, add chicken that has been cut into bite size pieces. Add your dried thyme, salt and pepper and stir all on med-high heat. When chicken is about half way done, in a small bowl mix the chicken broth with flour to remove lumps. Pour over chicken and add cream or milk. Stir, bringing to a boil to thicken sauce. Add parmesan cheese if desired. When chicken is cooked through, add in the cooked rice and another pat of butter. Stir. If you want it creamer add a bit more milk. Taste for salt/pepper and enjoy!

To kick this dish up a notch, pour all of this is in a buttered baking dish and top with a breadcrumb and olive oil mixture. Bake until breadcrumbs are toasted through. Serve.

Sunday, February 24, 2013

Spring Rolls

I know I've been away for awhile. And I can't promise that I'm back, but I did want to post these awesome spring rolls that I made. They came out tasting so good and they were so easy to make. I've wanted to try and make them for years but never came across rice paper in my store and I never went out of my way to try and acquire it. When I saw it sitting on the shelf of my supermarket the other day, I grabbed a package and took the spring roll plunge! The rice paper was a lot easier to work with than I thought it would be! I'm now planning on making these again and again. By the way, this is my version, I'm not claiming these to be authentic to any cuisine. It was from my memory of spring rolls I've had in restaurants combined with ingredients I had on hand! :)

Rice Paper Sheets
shrimp
avocado
romaine lettuce
shredded carrot
julienned cucumber
cilantro or basil (optional)

Boil the shrimp in salty water until cooked through. Do not overcook! You don't want rubbery shrimp. Set them in an ice bath to stop the cooking. Prep all your ingredients. Finely cut the lettuce, shred you carrot, julienne your cucumber and thinly slice your avocado. Chop your herbs if you plan on using them.

Take a large shallow bowl and fill with hot to the touch water. Gently slide one wrapper in the hot water and let it sit for about 5-10 seconds. When it is very pliable, gently lift it up and try to keep it from folding on itself. Spread it out on your cutting board. In the bottom part of the wrapper, about one and half inches from the side, stack your ingredients. Place your shrimp down first (if your shrimp is small, use two), followed by avocado, carrots, cucumber, and lettuce. Take the bottom edge of your wrapper and pull it up and over the shrimp pile. After one complete turn, fold the left and ride sides of the wrapper over the shrimp and lettuce and then continue to roll until you reach the end of the wrapper. Repeat with the rest of your ingredients!

Peanut dipping sauce
melt about a tbsp of peanut butter in a small dish. Add soy sauce, rice wine vinegar and honey to taste. You can also add chili paste for a hotter dip.

Ginger- Apricot dipping sauce:
Grate some ginger in a small bowl. Add a tbsp of apricot jelly. Add soy sauce and rice wine vingar to taste.

Thursday, September 20, 2012

Chicken Parmesan Soup

A couple of nights ago, I went to a friend's Pampered Chef parties. I was flipping through the recipe books and saw one entitled "Chicken Parmesan Soup." I didn't have time to look at the recipe closely and I ended up not buying the cookbook, but the title of that dish stuck with me and so I made my own creation of Chicken Parmesan Soup! One of my daughters asked for seconds so that is always a good sign!
-Amanda

Chicken Parmesan Soup

1 chicken breast
1 large can of crushed tomatoes
1/2 can tomato paste
3 tbs butter
lots of garlic, dried basil and oregano
2-3 cups of chicken stock
1 baguette of bread
Olive oil
Mozzarella
Parmesan cheese (have about a cup of loosely packed, fresh grated)
fresh basil (optional, for garnish)

In a skillet (or I just used my soup pot and then rinsed it out) put at least 1/4 cup of olive oil and heat it up. Quickly cube up the baguette (reserve enough to make 1/2 cup of bread crumbs) and add it to the hot oil. Stir it around letting it toast. Add some of the parmesan cheese and some salt and pepper. Remove to a bowl once it is toasted.

Slice chicken into thin pieces, like in a chinese stir fry. In a cleaned out soup pot add more olive oil and start browning chicken. Before it is cooked through, add the tomato paste, seasonings (salt, pepper, dried basil, oregano and garlic) Then add the can of tomatoes and the chicken stock. Bring to a very gentle simmer DO NOT BOIL or your chicken will be rubber. Add 1/2 cup homemade breadcrumbs. (This thickens the soup a bit.) Add the butter cubed up to the soup. The butter is a trick I learned from Food Network, it mellows out the tangy tomato flavor and adds an awesome depth of flavor to any tomato soup or marinara sauce. Last, add more parmesan to the soup and stir to melt it in.

Serve in a bowl with cubed up mozzerella (this starts to melt and gives you strings of cheese as you eat. YUM!) And a few pieces of the toasted baquette. Enjoy!

Sunday, September 16, 2012

My House is For Sale!

Taking a moment away from my blog to share some exciting news. My husband just got a job in Washington, just across from Portland, OR and so we are moving from Texas up to Washington! I wanted to share the listing and hope you spread the word that my house is for sale. It's an awesome floorplan, with beautiful, mostly private views. It's 4 bedroom, 2.5 bathrooms + office + gameroom, walk in pantry and large closets in all the bedrooms.

The official listing with lots of photos and a walk through video is here:
http://www.houselens.tv/2025highlanddr.aspx

Please check it out and send it to any friends you know who are thinking of moving!

Thursday, September 6, 2012

Shrimp Stuffed Portobello Mushrooms

At best this is labeled a WIP (Work in Progress.) But it was tasty enough to warrant a mention, so that perhaps I can work on it in the future. Tastes sort of like fried coconut shrimp.
-Amanda

Shrimp Stuffed Portobello Mushrooms

4 portobello mushrooms, gills removed
1/2 onion
3 cloves garlic
1/4 stick of butter
3/4 package of cream cheese
2 cups raw shrimp, diced
splash of soy sauce
splash of Worcestershire sauce
2 tbsp apricot jam
1/2 tsp grated ginger
1 1/2 cup toasted, unsweetened coconut flakes
salt & pepper
Olive oil

Coat mushrooms in olive oil and grill or broil to get them started cooking. Chop onion, ginger and garlic and saute it in the butter. Remove to a bowl. Mix in cream cheese, apricot jam, worcestershire sauce and soy sauce. Add coconut flakes. Stir until everything is mixed well. Taste and adjust seasonings. Then add raw shrimp. Stir. Mound up on mushrooms. Place in a baking dish and cook for 15 minutes at 425 or until shrimp is cooked through.

Fast & Easy Breakfast Cups

These are a big hit with our kids so I thought I'd share. It's a fast and healthy breakfast go to in our house.
-Amanda

Yogurt Cups

In a small sauce pan mix up some frozen fruit and a heaping spoonful of no-sugar added all fruit jelly. You could probably leave the jelly out, but it seems to help with the consistency. Add a squirt of honey. I make this mixture a bit over sweet, so when it mixes with the plain tart yogurt the sweetness evens out. With a potato masher, mash up your fruit mixture until it is almost pureed. Or if you like, you can puree it in a blender for kids who have texture issues. Above I made strawberry and banana. After the strawberries were mashed down, I removed it from the heat and mashed in a banana.

 Layer in your container jam, whole-milk plain yogurt, jam, yogurt. If your kid (or you) likes granola, then put some in a small snack zip bag and store it on top so they can sprinkle it in.

Cottage Cheese Cups

My girls have been eating cottage cheese since they were babies. I didn't put honey in it until they were a bit older, but now it's a favorite, especially with pineapples crushed in! So I just simply mixed some 4% cottage cheese with a bit of honey and topped with crushed pineapples. All ready to be stirred in and enjoyed come morning!


Blog Widget by LinkWithin